Part 3
Framing
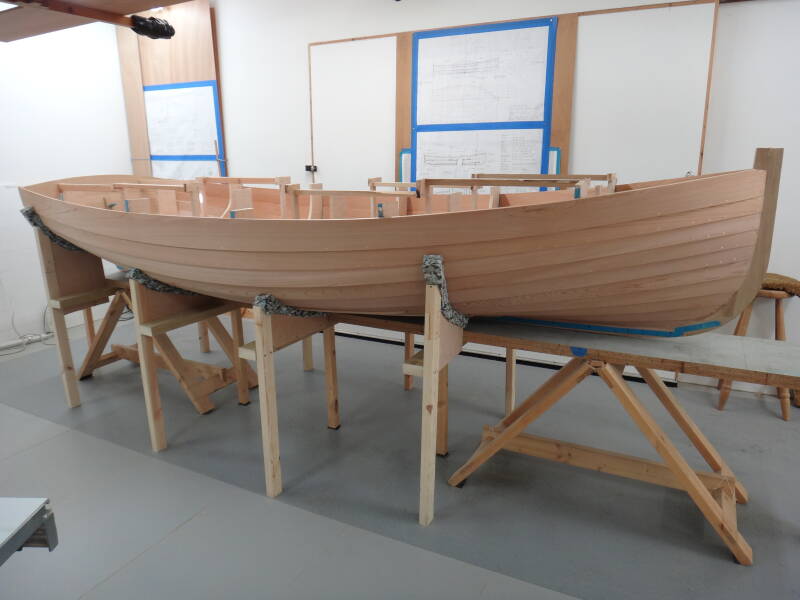
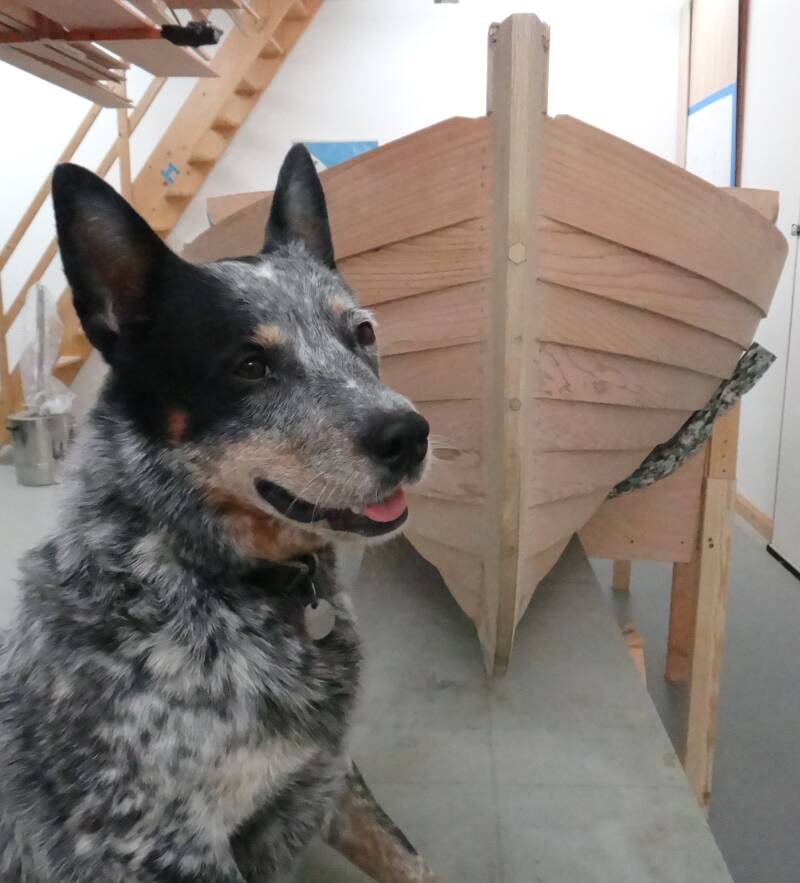
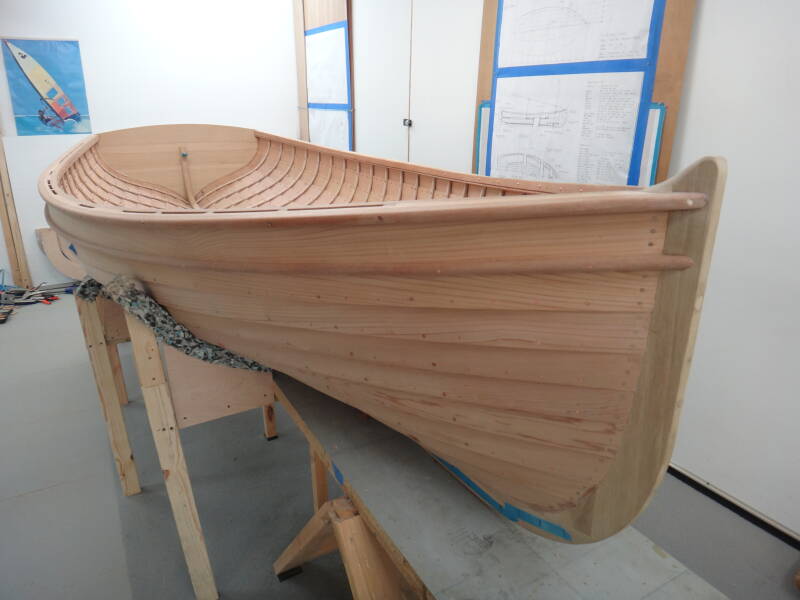
Having flipped the boat ‘right side up’ on my building table, I fitted some foam padded side supports to hold it steady while I clambered about, inside and out. Sprout, the cattle dog, thought things were starting to look a bit more promising as a potential mode of transport.
To maintain the boat’s shape while fitting the oak timber frames (sometimes just called timbers or ribs), I left the building stations inside, just removing sections as I went along. I also added several transverse supports between the gunwales to prevent the boat from spreading in width. I used a strip of flexible Perspex to mark out the position of the frames and try to ensure that they were spaced evenly.
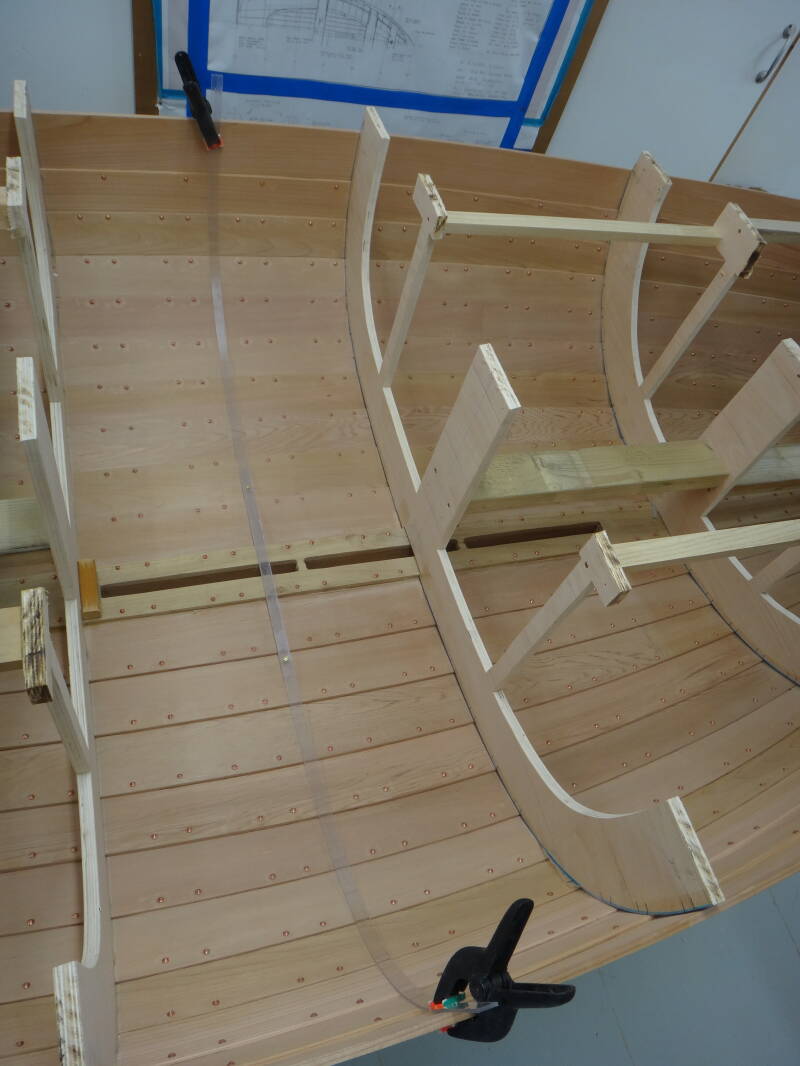
Perspex strip used to mark the line to be taken by the frames. The building stations are still in place to prevent any distortion of the shape.
I managed to have some green oak boards delivered at a reasonable price from an online supplier and cut and shaped them ready for steaming. Machining wet wood shows you just how quickly rust can develop on your machines, so frequent cleaning and drying was needed. However, the oak appeared to have acceptably straight grain.
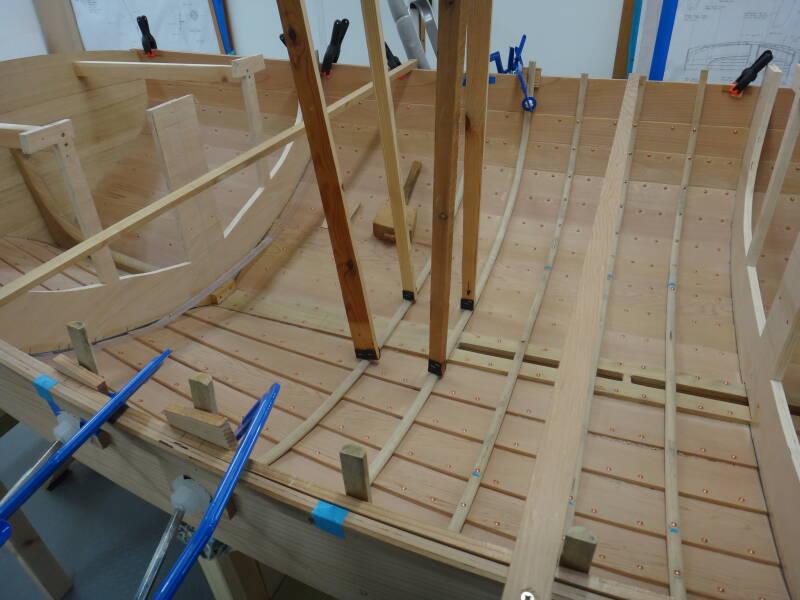
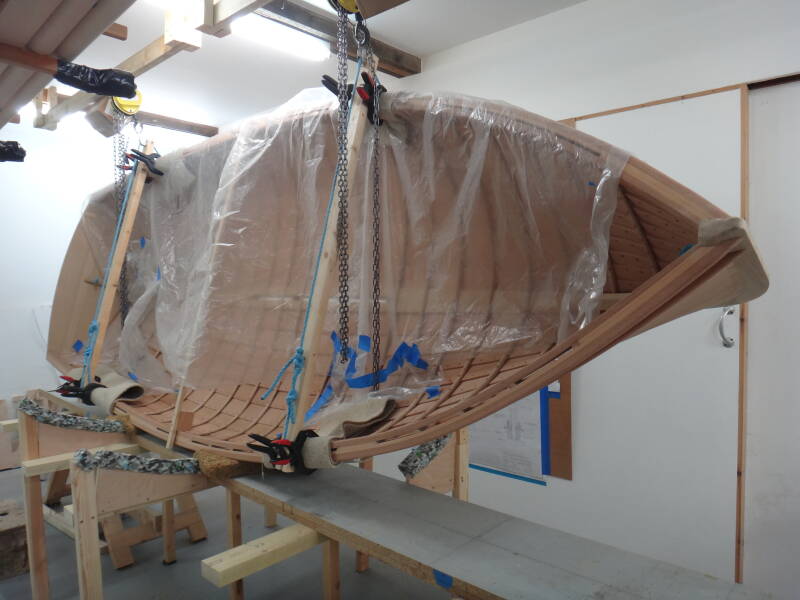
Most of the pictures I have seen of steamed frames being fitted show the involvement of three or more people; one removing the frame from the steam box, one inside the boat receiving it, and one on each gunwale ready to press the sides into place. As a single-handed builder I didn’t have this luxury, so I created some ‘extra hands’ in the form of struts wedged between the frames and the beams on the ceiling. After half an hour in the steam box, the first three frames bent and clamped into position remarkably easily, with a mallet tap on the end to force the oak onto the sides ready for drilling and nailing (drilled from the inside, then nailed from the outside). When doing this job on your own, the flexibility of hot steamed timber has long gone by the time of inserting some of the copper nails, but nevertheless I managed to achieve a reasonably tight fit in most areas, with nails in the sections that I could reach with one hand inside and one outside. This initial success lulled me into a false sense of confidence but I soon encountered a few of the expected breakages as I moved progressively along the boat toward each end. I finished with an acceptable success rate.
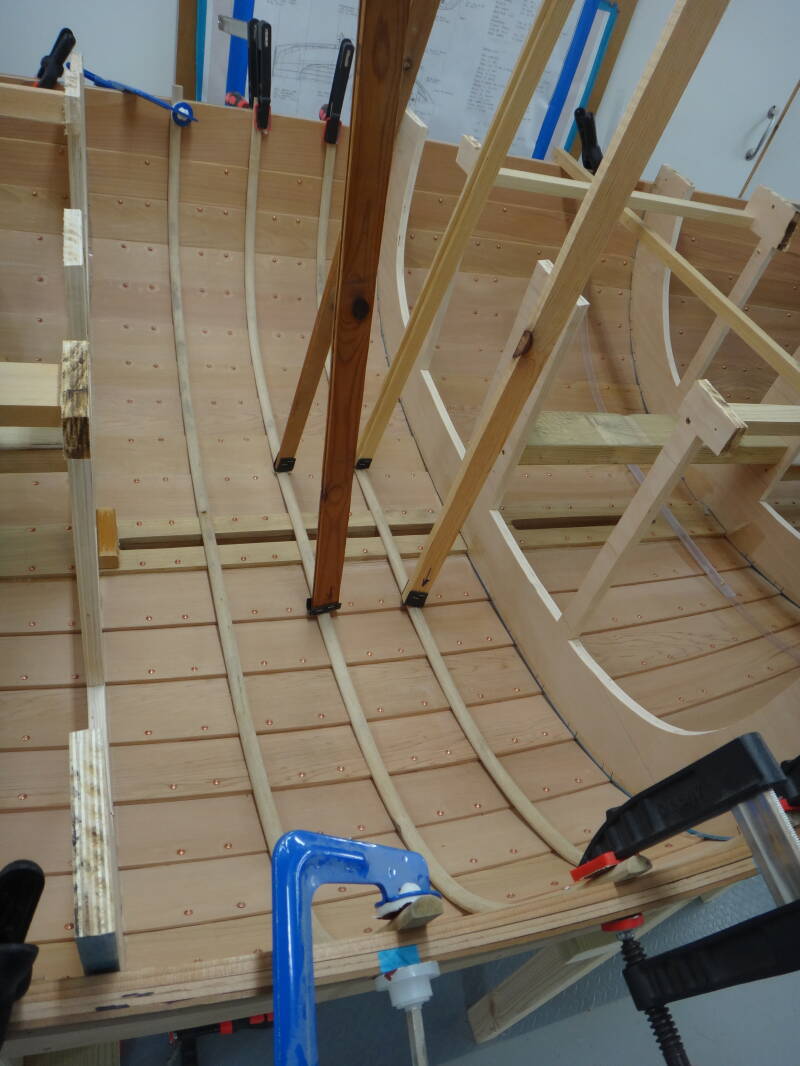
The first three frames bent into place and clamped at the ends, ready for nailing. Wooden struts were wedged against a ceiling beam to provide extra pressure in the middle while the timber was cooling.
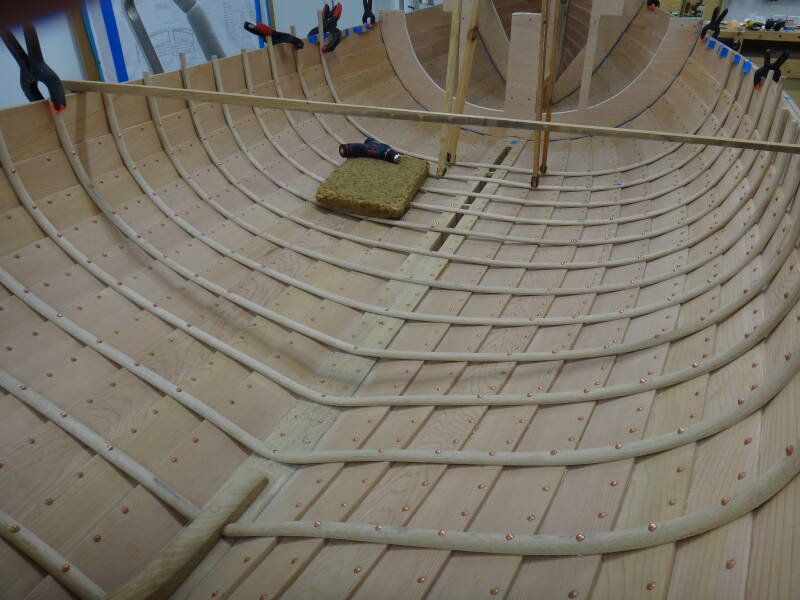
More frames added and nailed as the building stations were progressively removed.
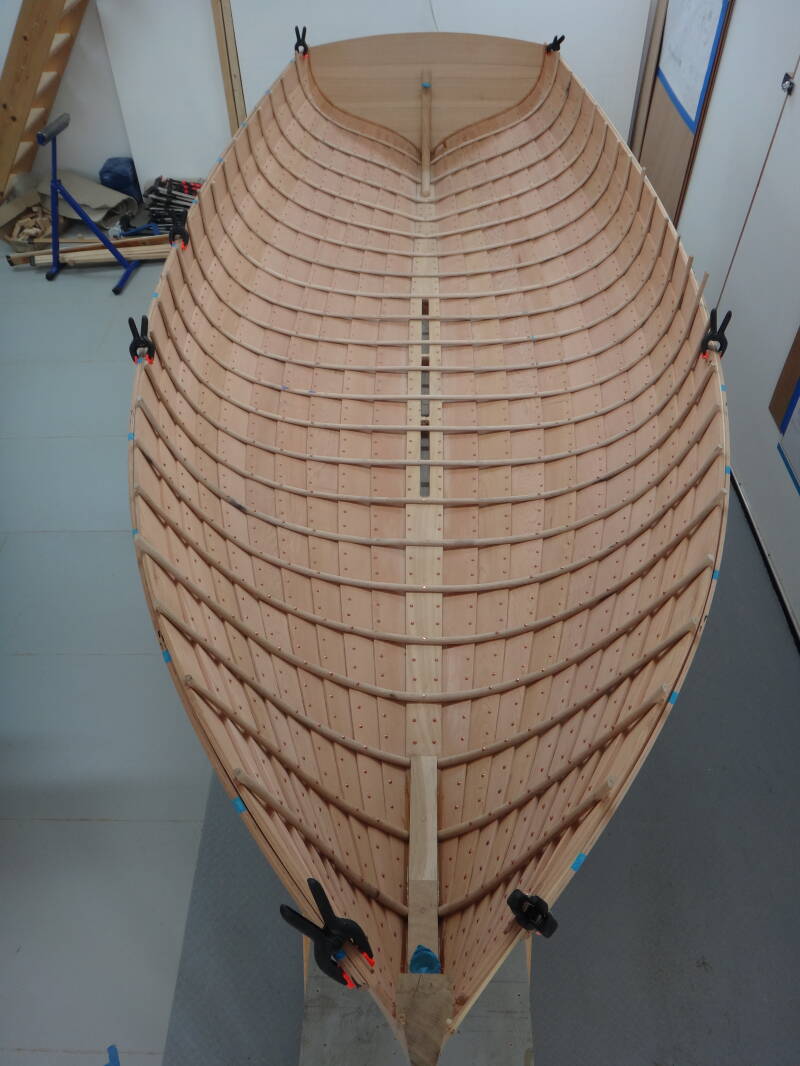
The hull with all the frames in place are a satisfying and pleasing piece of art for an amateur boatbuilder!
The next job was to strengthen and support the sheer strake by adding the gunwales. I had a piece of Khaya mahogany left over from a previous project that I thought would be suitable, even though some scarf joints would be needed to avoid a few defects (the reason why it wasn’t used the last time). I planned to put an additional rubrail at the bottom of the sheer strake as I thought the contrasting timber would add a little bling to the appearance. However, I discovered that the mahogany wasn’t keen on bending to shape, despite a generous period of steaming, so it was a fight to get it to conform. I won in the end, with a mixture of glueing and clamping followed by nails and roves for the inwales and rubrails, and screws for the outwales. The top edges of the inwale, sheer strake, outwale and in-fills could then be trimmed and smoothed together.
Left: Inwales clamped temporarily in place after steaming.
Above: Inwales, outwales and lower rubrail fixed in place.
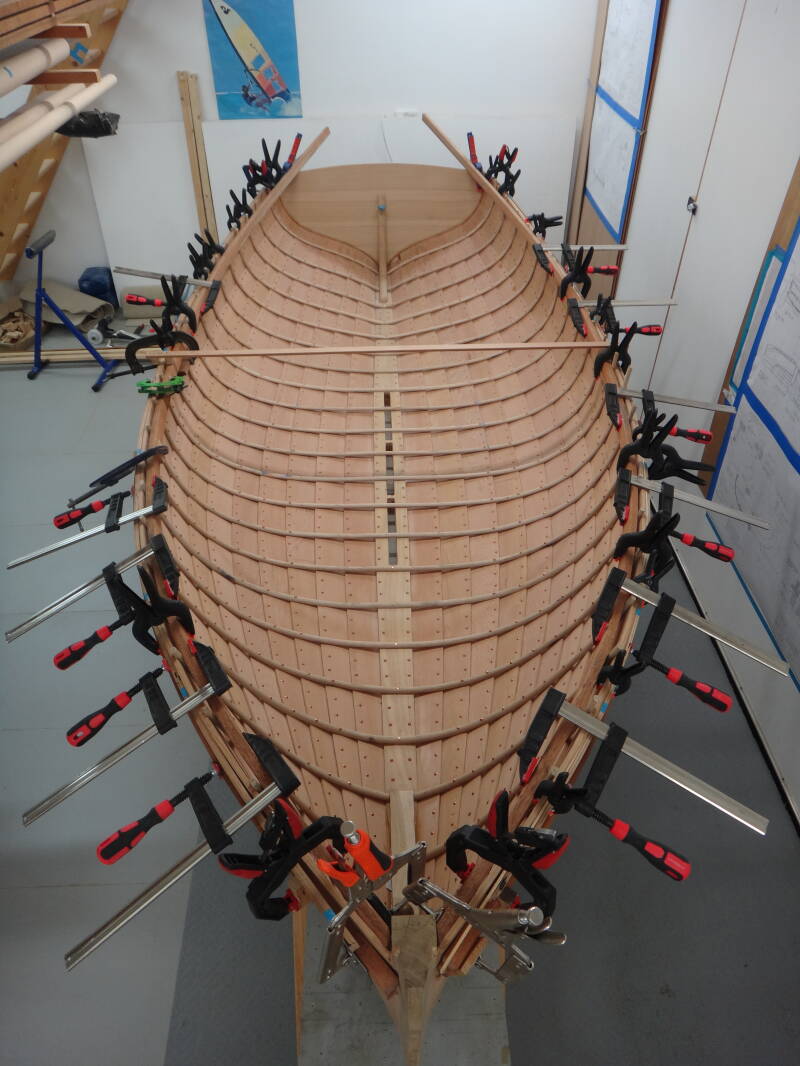
Before embarking on building this dinghy I had read that single-handed construction was challenging but possible. When thinking through the stages involved I was left with two procedures that I thought might not be achievable for me on my own, both in the framing process. The first was the initial bending of the steamed frames – but I had managed that. The second was the completion of the frame nailing in areas that I couldn’t reach. Although it is only a small dinghy, with a dolly outside in one hand and a hammer inside in the other, my arms were not long enough to reach round to the central sections of the boat near the keel. I was left with about 60 nails (out of about 1,600 in total) which would require assistance, so negotiations began. Firstly, I thought I could make the job as easy as possible if I lifted the boat onto its edge so that both workers could stand rather than one lying under the boat on the floor. This worked well and so a few marriage-testing hours were spent with both parties wearing ear-defenders, ostensibly to reduce the noise of the hammering. Final discussions over the recompense required for time spent as my assistant are ongoing.
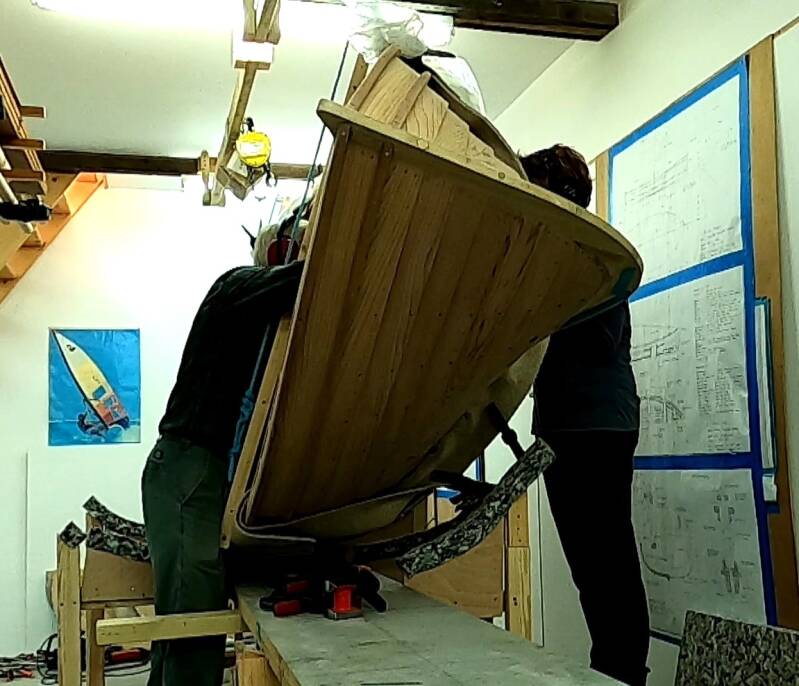
Above: The boat tipped on its edge to make adding the final nails and roves easier for the hammerer and 'dolly' holder!
After tidying the centreboard slot the boat was turned back flat, ready to start the fit-out.
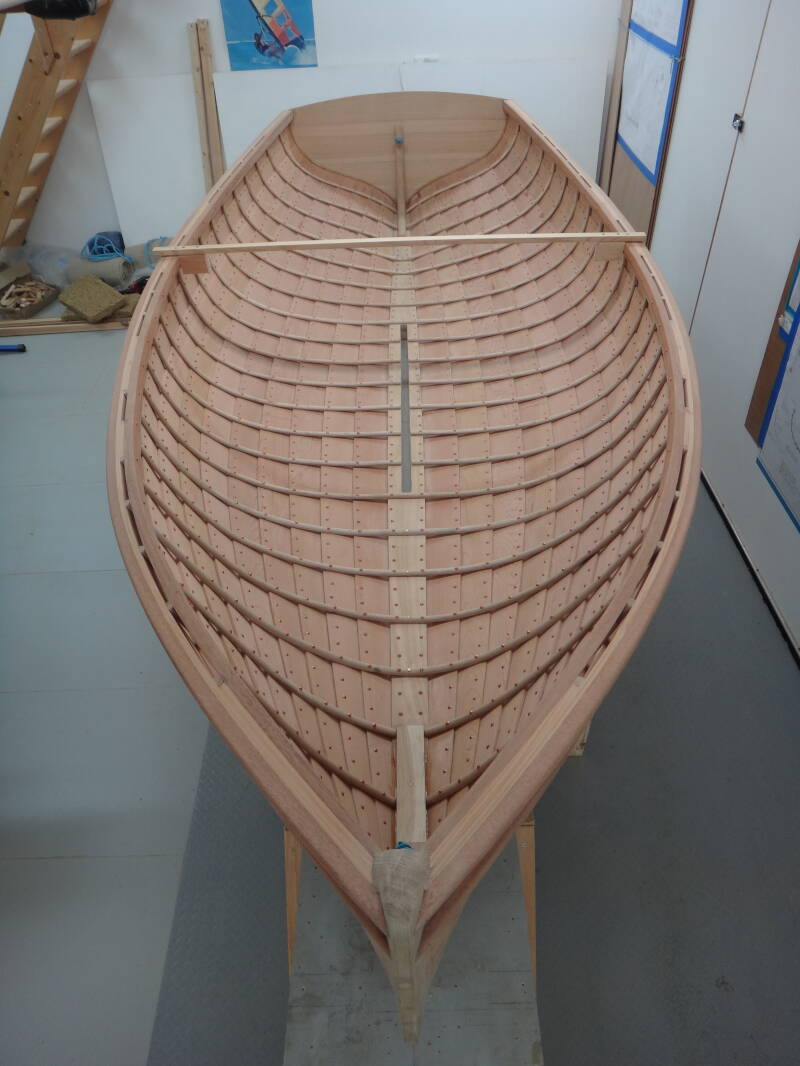
All of the nails now in place and the tops of the gunwales and sheer strake trimmed and smoothed.
Create Your Own Website With Webador